Design Mode
Project Creation
After successful login, you are redirected to the Dashboard. From here, you can navigate to Design Mode to create and organize projects.
Step 1: Switch to Design Mode
In the top navigation bar, click on Design Mode to enter the workspace where you can manage and create projects.
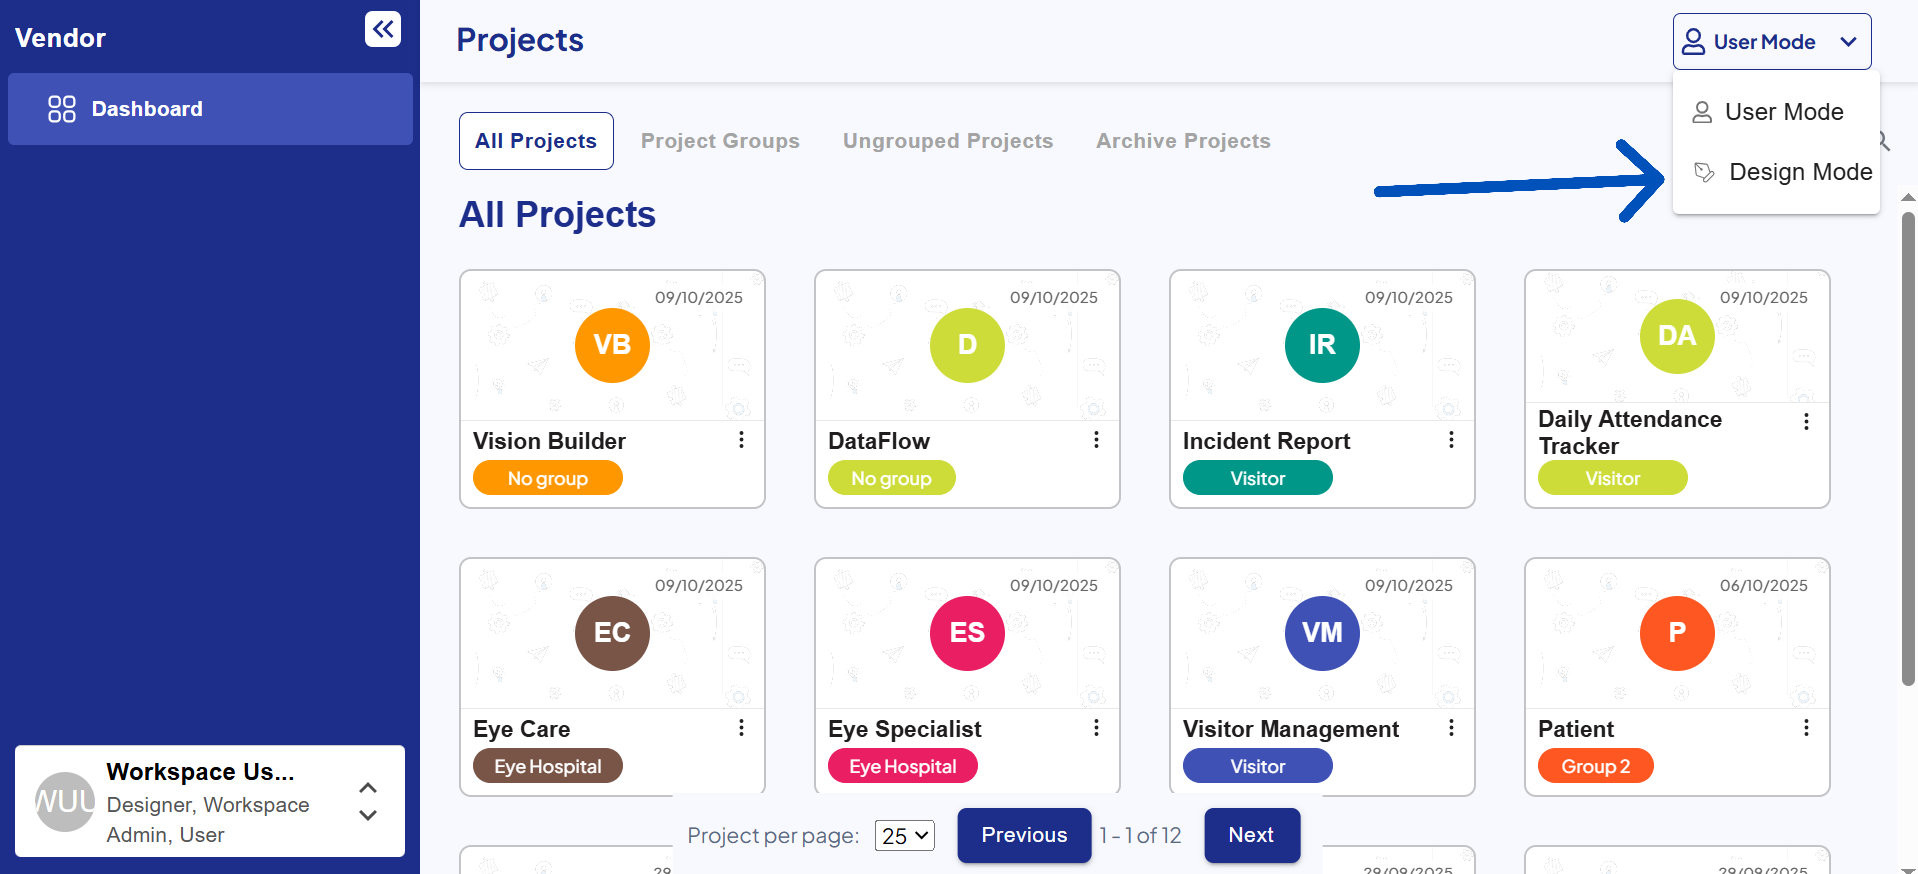
Note: Only users with Admin Role can access to create new projects.
Step 2: Create a New Project
Once you are in Design Mode, you will see a “+ Create New” button at the top of the page.
Clicking this button opens a Project Creation Modal.
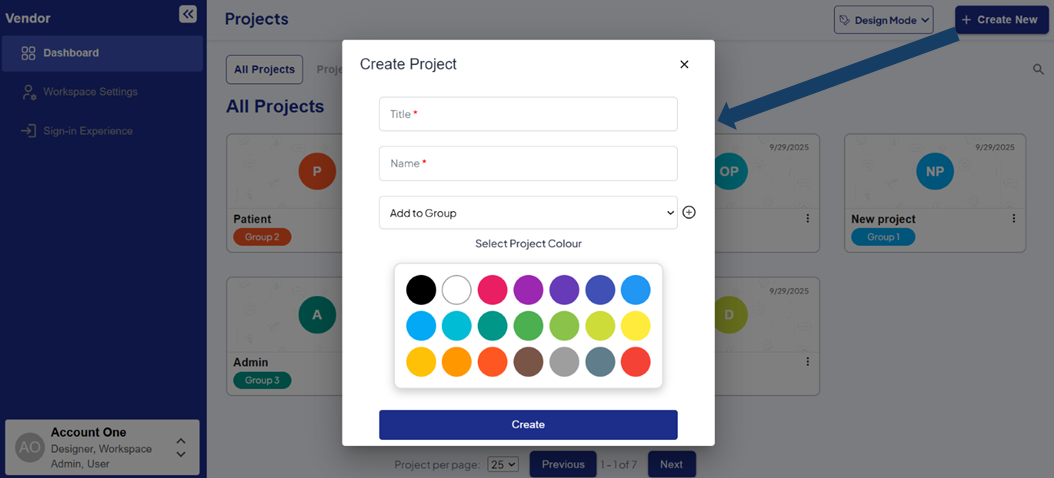
Project Creation Modal Fields
Inside the modal, fill in the following details:
| Field | Description |
|---|---|
| Title | The display name of your project (e.g., “Marketing Portal”). |
| Name | Automatically generated from the title (lowercase, no spaces). Used internally for consistency. |
| Group | Choose an existing group from the dropdown or click the “+” icon to create a new group. |
| Color | Select a color to visually identify your project easily. |
Once all fields are filled, click Create to add the project to your dashboard.
Tip: Organizing projects by group and color helps maintain a clean, visually distinct workspace.
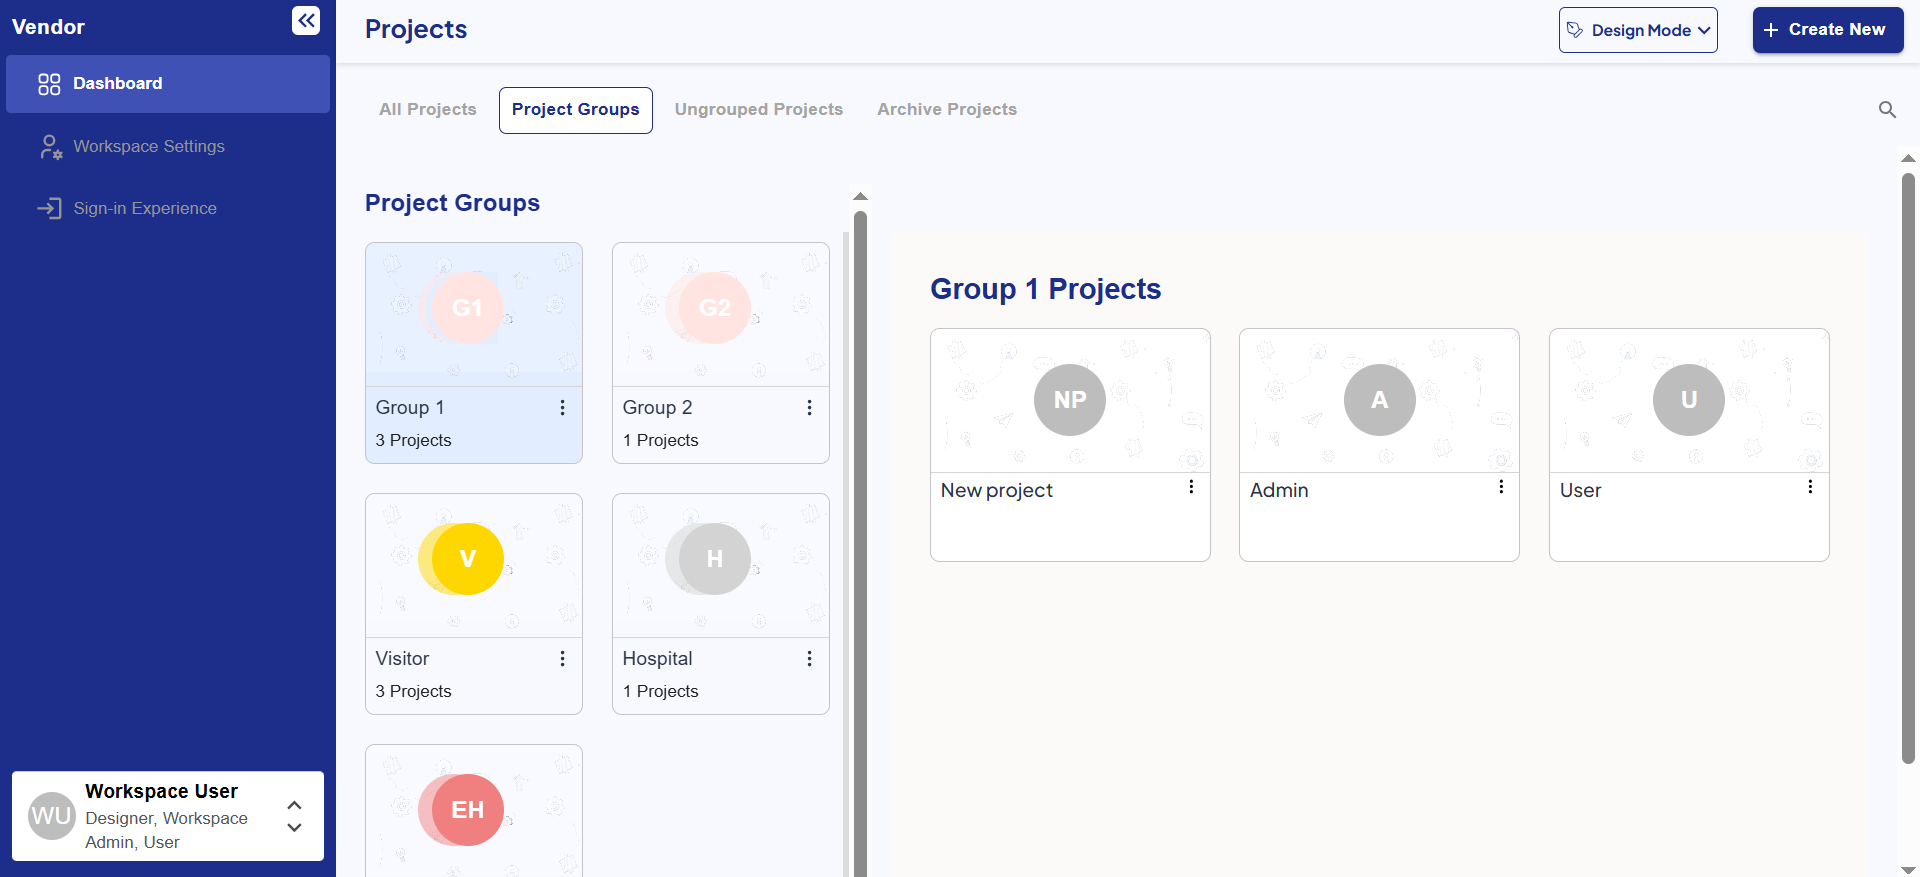
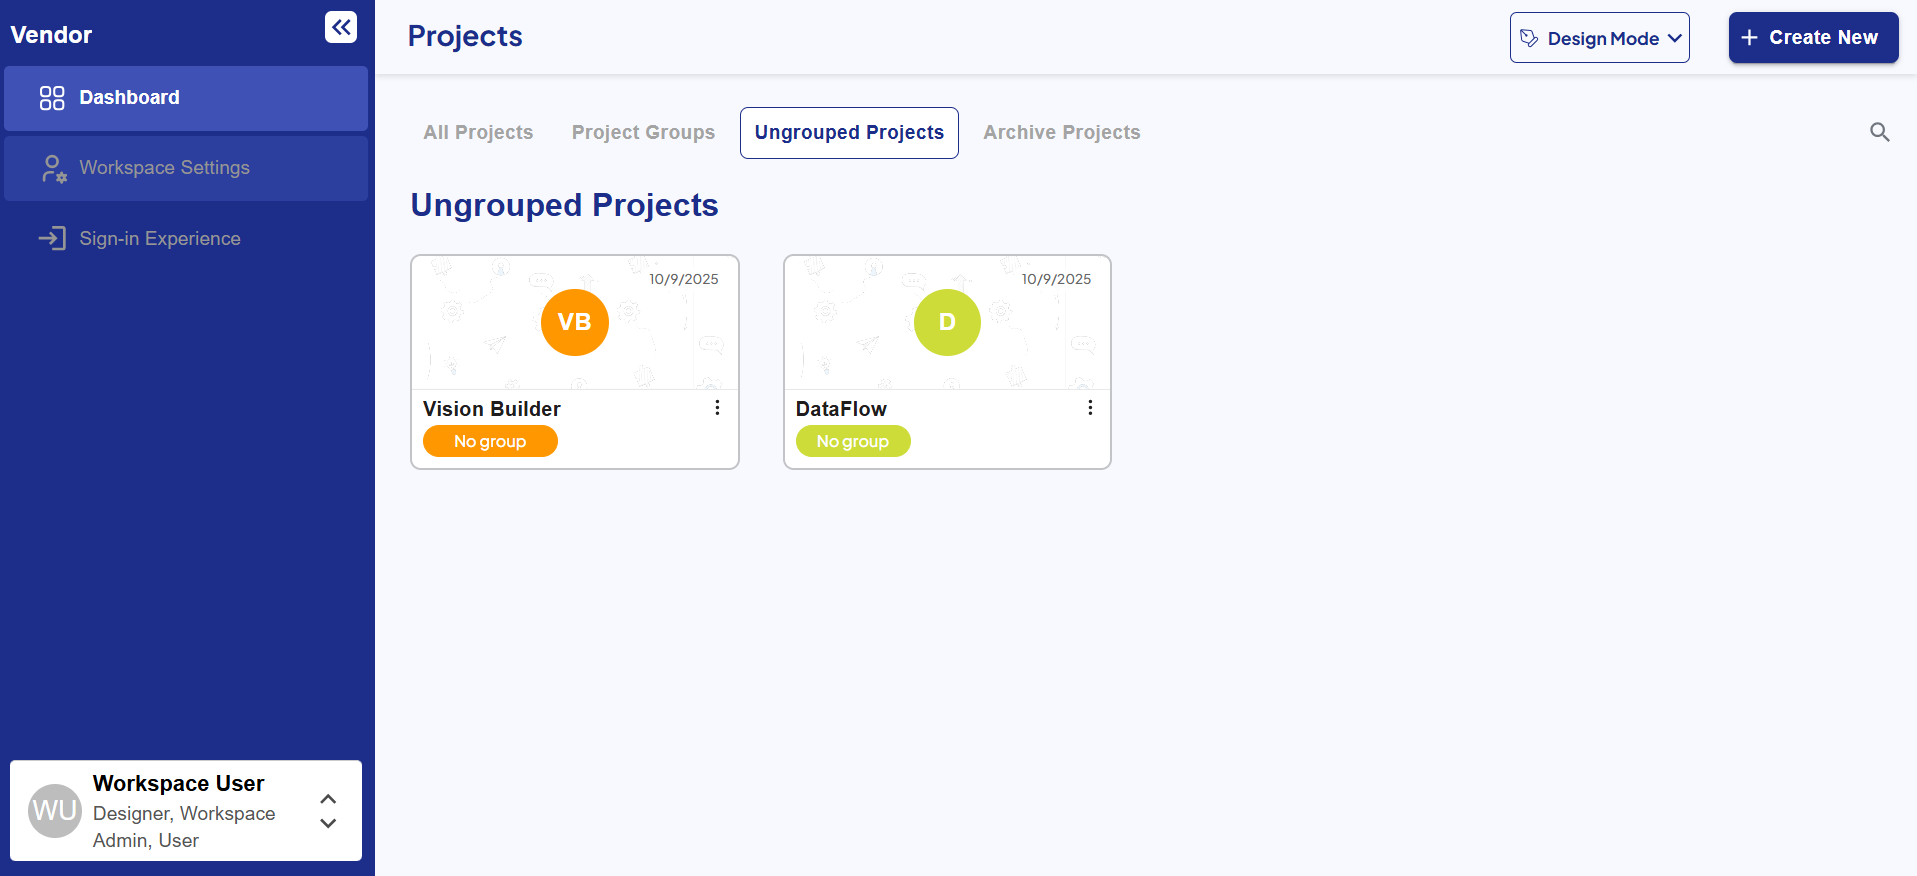
Step 3: Project Segregation
The following features help you organize and access your projects efficiently:
1. All Projects – Shows every project you’ve created in one place.
2. Project Groups – Displays projects organized into specific groups.
3. Ungrouped Projects – Lists projects that are not assigned to any group.
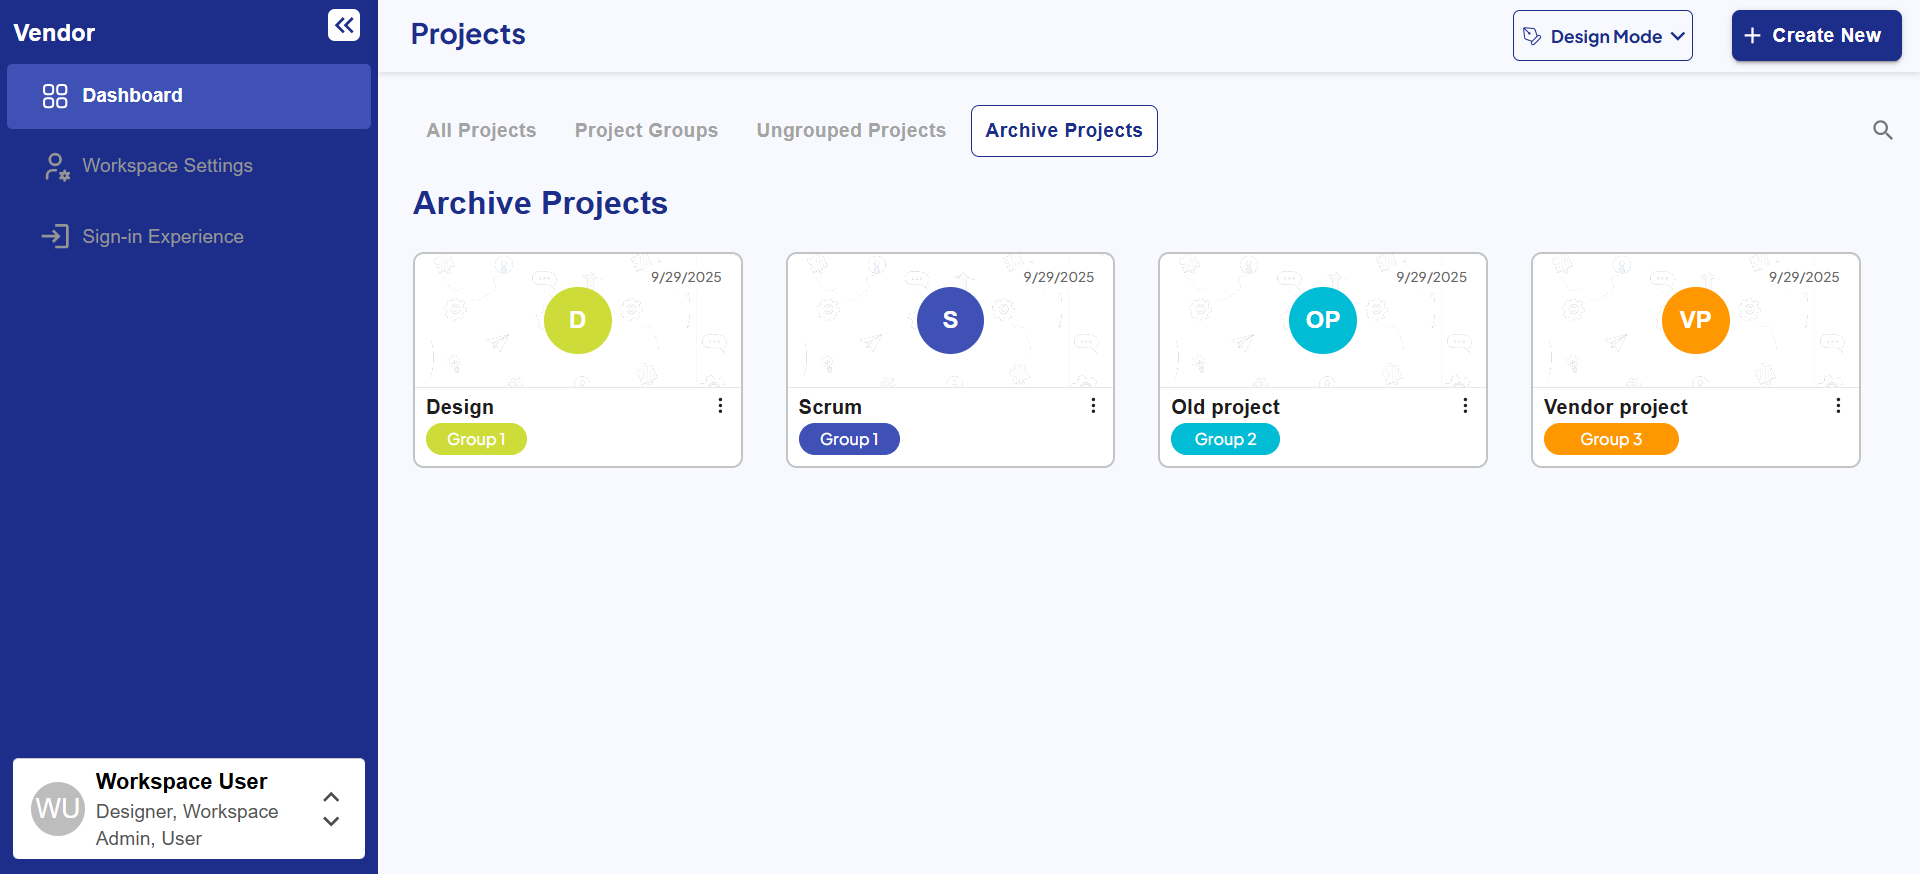
4. Archive Projects – Stores projects that are no longer active but kept for reference.
Step 4: Searching and Pagination
In the Dashboard, a Project Search Bar helps you find projects quickly by name or keyword.
Additionally, you can control how many projects appear per page using the Projects Per Page setting.